PHOTOGRAPHY TIPS: MAKING EYELASH EXTENSIONS THE FOCAL POINT
Taking photos is just another part of the job and an important one too! Photos are crucial for social media, portfolio building, and having visuals for clients. But, not all eyelash photos are created equal and that’s why today’s post is all about how to make the extensions the focal point of the shot.
Prepare the Lashes
Before rushing into taking photos, take a minute before the client sits up to work through the lashes one more time—meaning separate all the lashes, unstick any bottom lashes, dry any damp spots, brush them out, and fluff them up. Get those lashes photo ready because there’s nothing worse than noticing one small imperfection after the fact.
Avoid Heavy Makeup Looks
One way to distract from noticing eyelash extensions in a picture is with a busy, heavy makeup look. You want the focus to be on the eyes and the extensions so simple makeup everywhere else on the face will make those lashes shine.
Don’t Forget the Eyebrows
In most cases, even the close ups, the eyebrows are going to be in the shot. Consider touching up the eyebrows with a wax and tint if needed, or simply give them a quick brush. We often forget about the eyebrows but they can get messy after our hands have been on them during the appointment. Make your pictures look complete by remembering the brows!
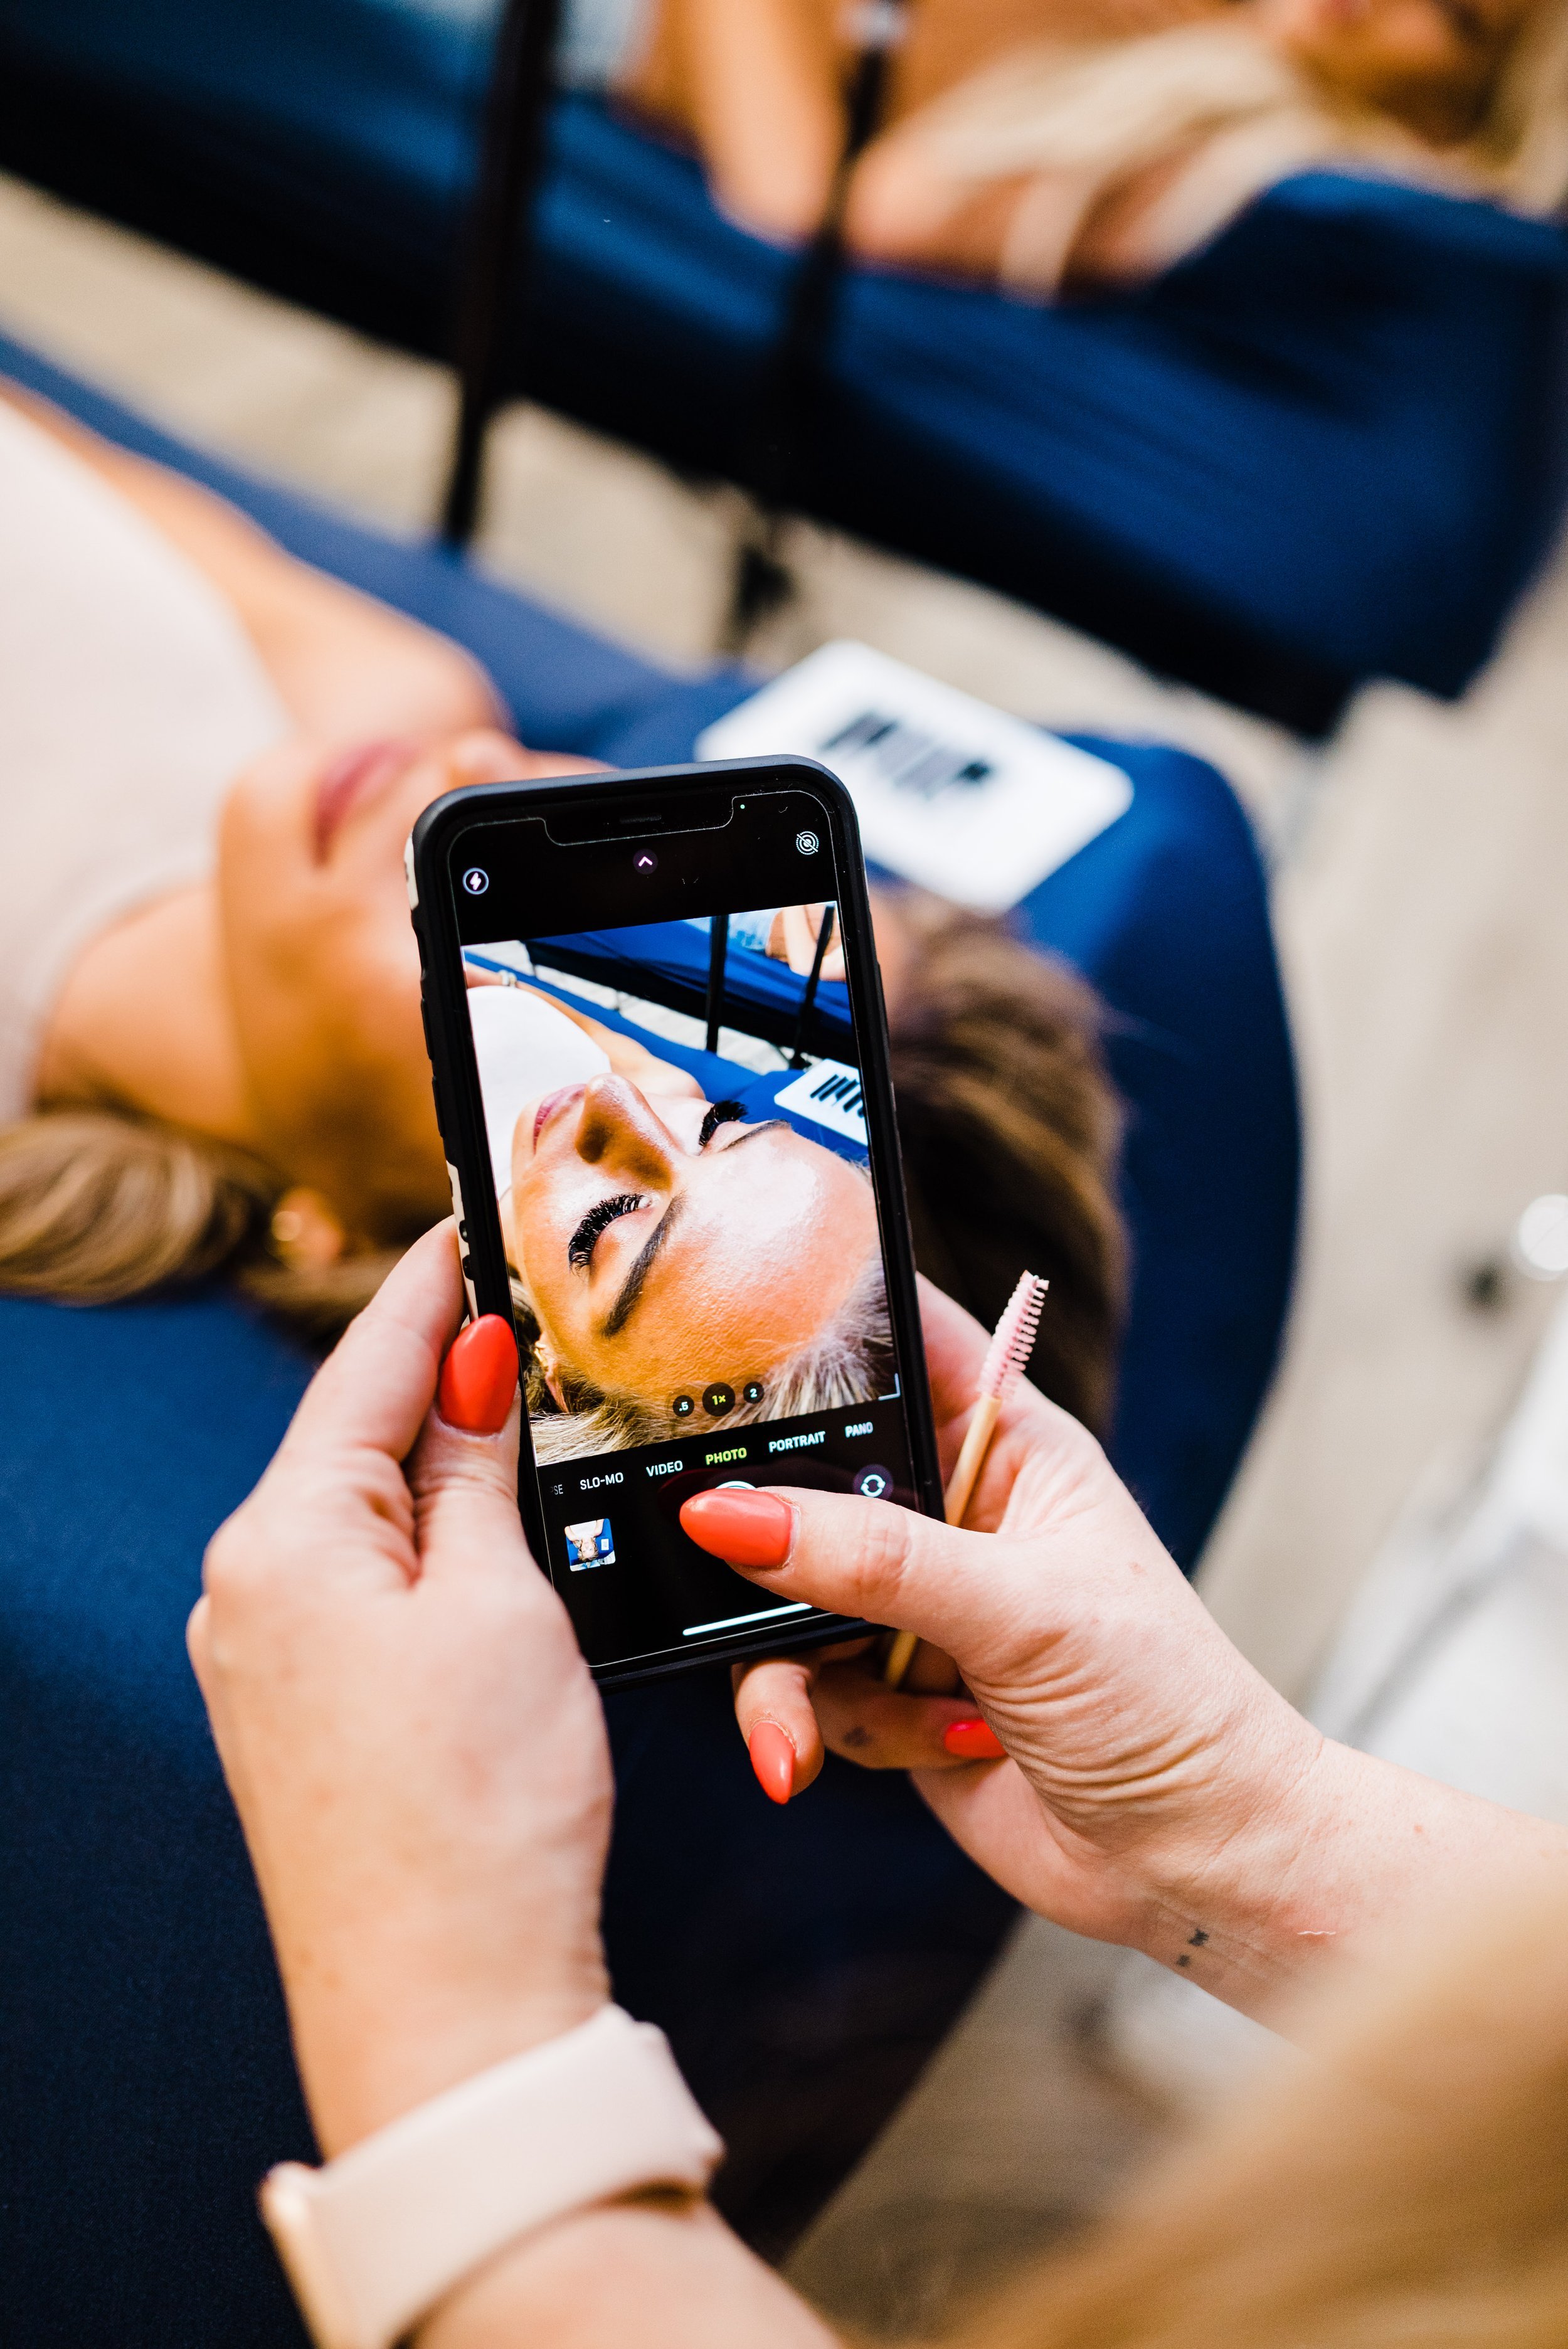
Get Close and Personal
We want the details of lashes to be eligible, so don’t be tempted by zoom or crop. Your lash pictures will turn out clearer if you start by taking them up close and personal. This is especially true when using a phone camera!
Good Lighting
Good lighting makes all the difference in photos, and even better if it’s natural lighting. But, if you work without windows or when the sun is down use good lighting like a ring light or a light attachment to your camera. Shadows can be a photo killer so play around with the angles of lighting too!
Focus on the Eyelashes
Sounds obvious enough, but waiting for the camera to actually focus on what your photographing will reflect in the outcome. Using our phone cameras is the most convenient way to snag a quick after shot and even they have this feature!
Avoid Editing the Lashes
Things that affect or enhance the picture as a whole can alter the way the lashes look, so avoid edits like filters. However, not every picture is social media worthy without a little touching up, so instead focus on isolated editing like blurring skin imperfections or changing things in the background. Slight adjustments to the brightness are okay but avoid adding too much contrast. You don’t want to catfish potential clients!
Keep a Simple Background
Again, we’re trying to make the eyelashes the focal point so avoid having too much in the background. You don’t want to see things like your lash tools or trash can in the background. Also, consider using the same background in your photos for a very cohesive look!
Use All the Angles
It can seem like there’s only so many ways to photograph eyelash extensions but really play with the angles while keeping all the previous tips in mind. You can do eyes op or shut, focus on one eye or both, straight on, from above, from the side, etc. Use all the angles, snap more photos than you think, and weed out the bad ones later.
Take Before Pictures
Don’t forget your before photo because one of the most impactful ways to show off eyelash extensions is with a direct comparison of before. In the after shot your eyes will automatically go to the extensions!